Sunday, December 25, 2016

Christmas Myrnas

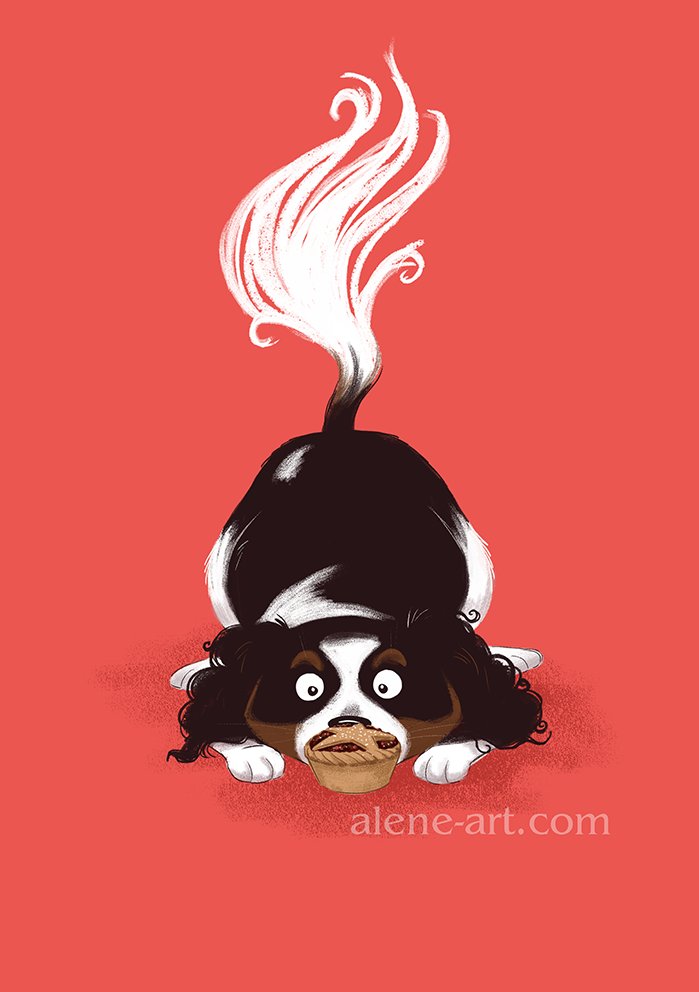
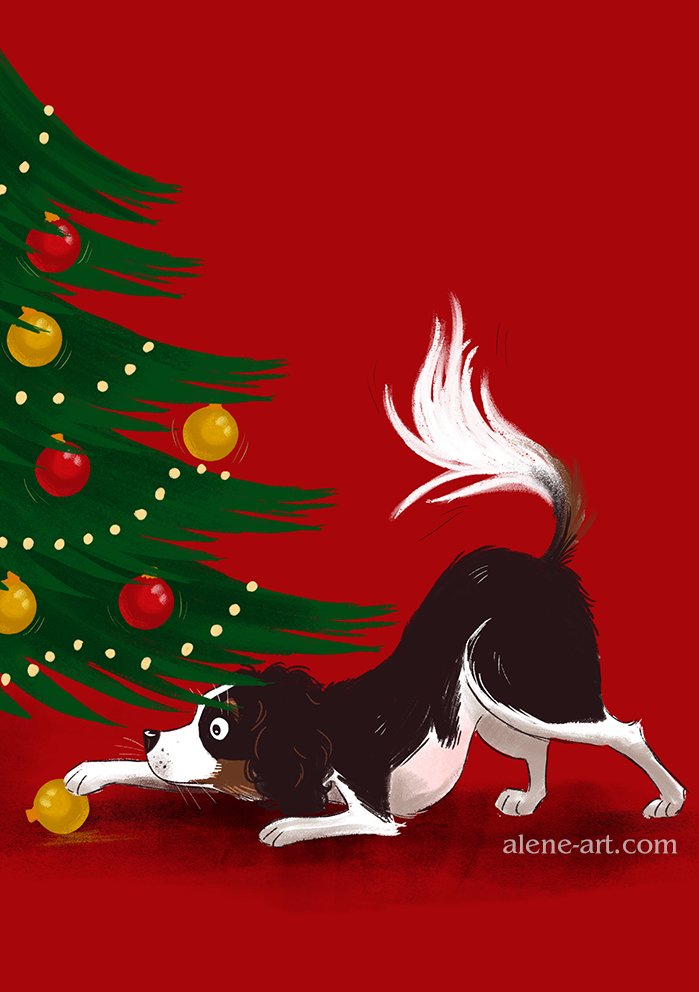
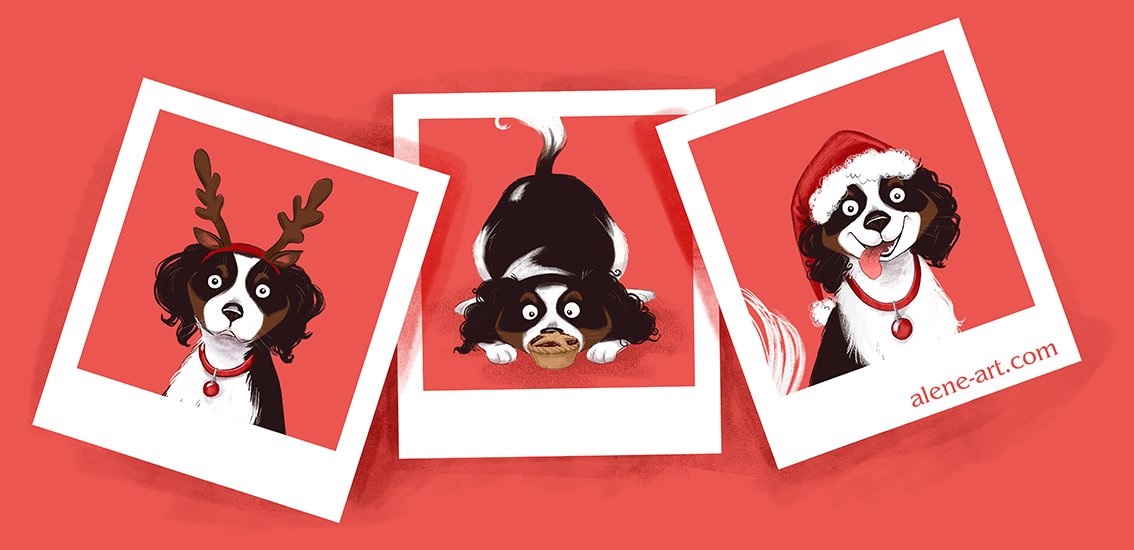
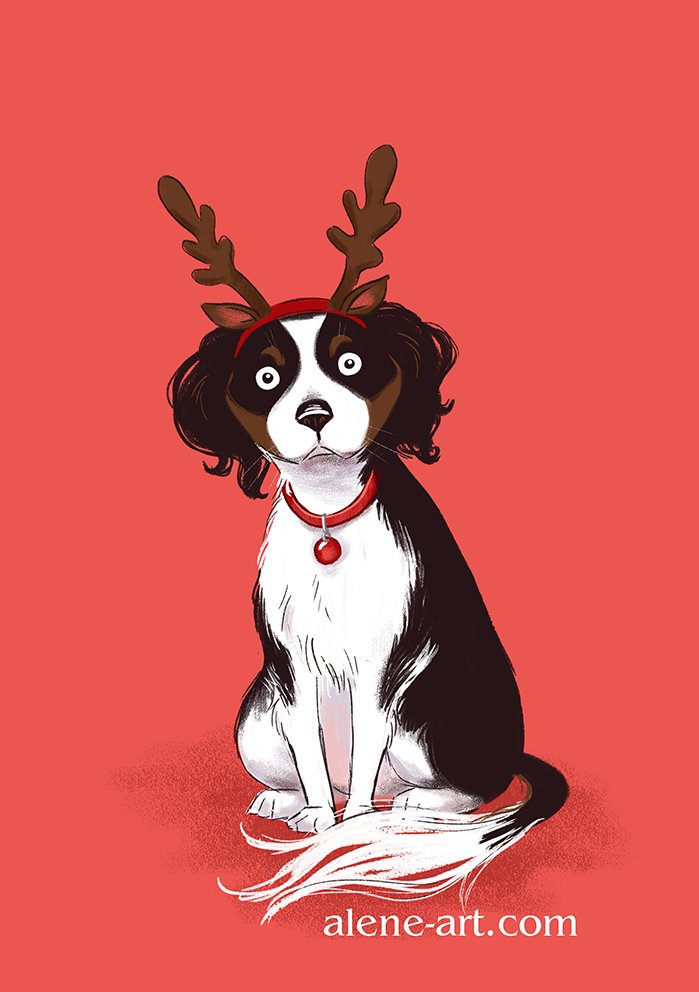
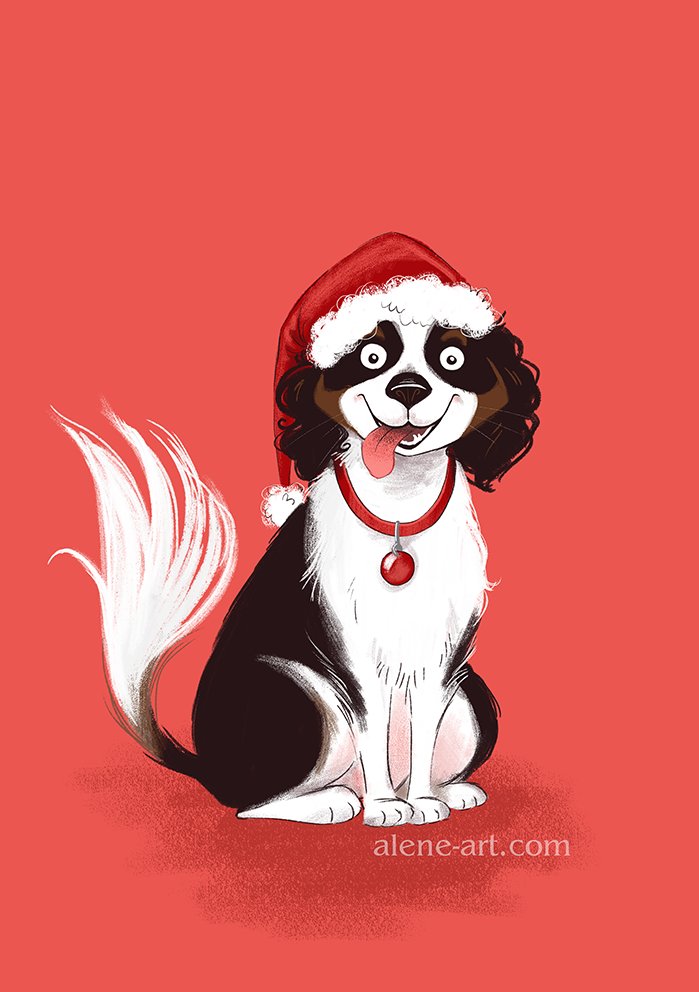
Continuing with Illo Advent, I did some Christmas themed illustrations of my dog Myrna. I'd already done some extras when I did 'Scarlet' for Colour Collective and I had saved them for Illo Advent days when I was too busy to create something new:


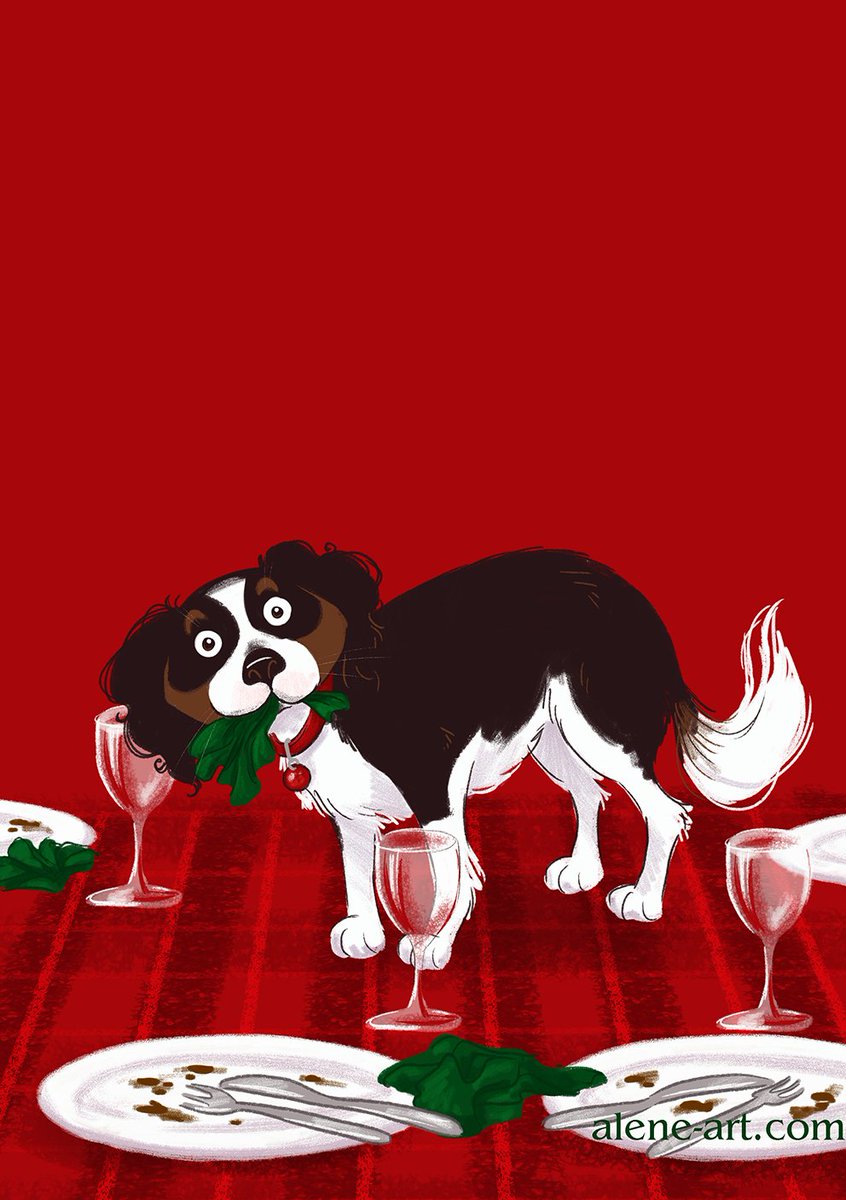
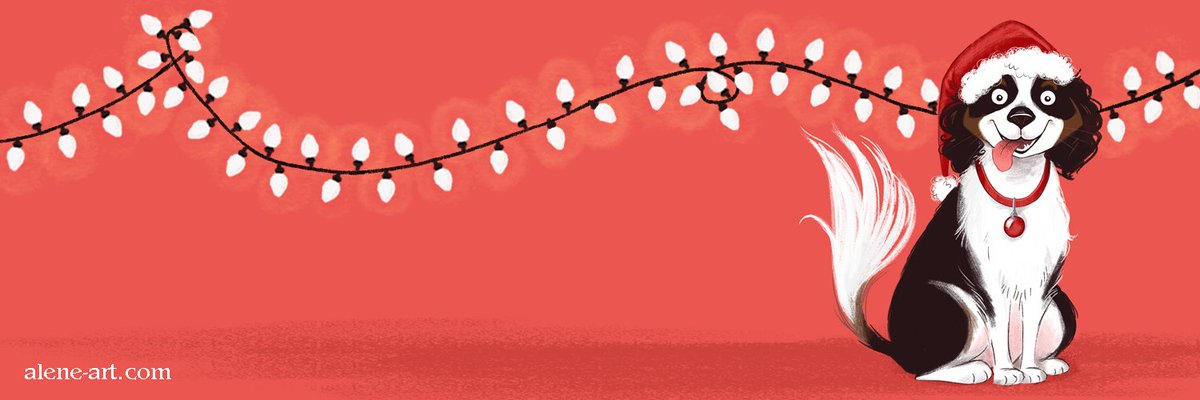
And then I added two more, with a different background colour, as it was getting closer to Christmas:


Some of these are inspired by actual things Myrna has done, and some of them are just inspired by her in general. She does hoik her ball out from tricky places using a paw, but she hasn't stolen a bauble (yet....). But I regret to say that we had a BBQ last night and we did find her up on the table, after the crumbs and the discarded serviettes (she loves tissues). It's not like she doesn't know that she's not allowed up there! Fortunately all the food had been taken away by that time (also all the plates, but that doesn't read so well as 'up on the table'...). 

All done in Adobe Photoshop CC 2016 on a Wacom Cintiq Companion 2. They were pretty quick, I think I spent a little over two hours each on the first two, and less on the second two. 

Saturday, December 24, 2016

The 12 Days of Christmas for Illo Advent

I thought I'd try to take part in Illo Advent again this year, but as December can get pretty hectic, I decided I'd do a mix of new pieces and existing ones. I started off with 12 quick sketch illustrations for The Twelve Days of Christmas. In general, I managed to keep these down to about half an hour each, so the quality starts to drop off the more people I have to fit in. In an ideal world I would have had more time to work on the more extensive ones, but as it was I think it was good practice at keeping things speedy:

On the first Day of Christmas my true love sent to me
A partridge in a pear tree.

On the second Day of Christmas my true love sent to me
Two turtledoves
And a partridge in a pear tree.


On the third Day of Christmas my true love sent to me
Three french hens
Two turtledoves
And a partridge in a pear tree.


On the fourth Day of Christmas my true love sent to me
Four colly birds
Three french hens
Two turtledoves
And a partridge in a pear tree.


On the fifth Day of Christmas my true love sent to me
Five gold rings
Four colly birds
Three french hens
Two turtledoves
And a partridge in a pear tree.


On the sixth Day of Christmas my true love sent to me
Six geese a-laying
Five gold rings
Four colly birds
Three french hens
Two turtledoves
And a partridge in a pear tree.

See the rest under the cut:

Friday, December 23, 2016

Thank You!

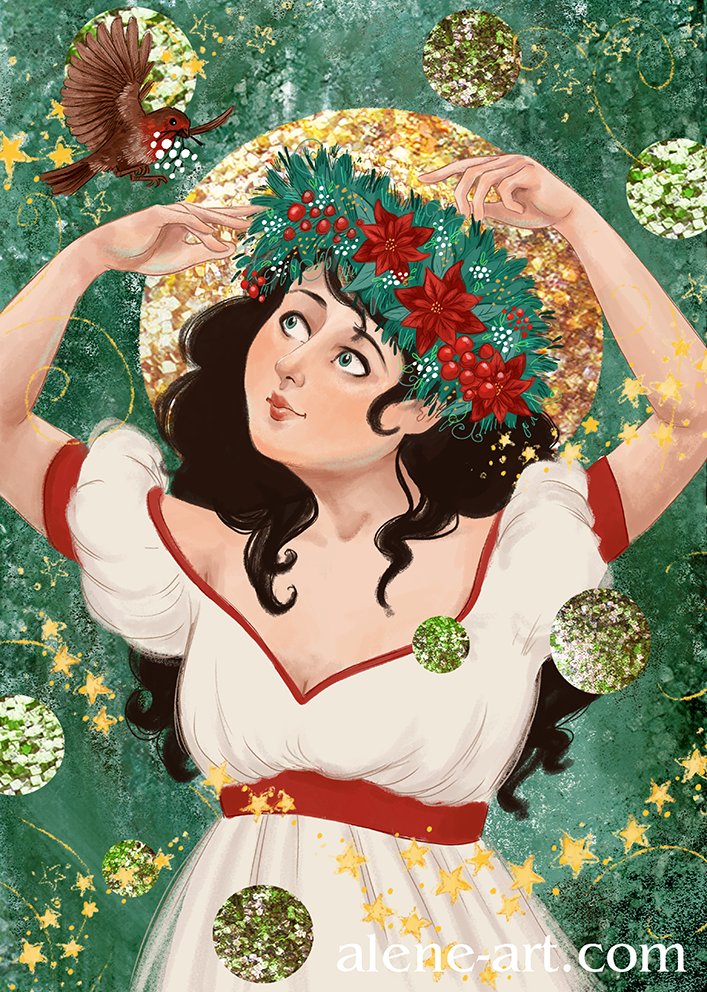
For the Dark Phthalo Green prompt for Colour Collective, I decided to do a design to match our Christmas cards. I used the same background (changing the colour to green), and the same type of angel character, and added a robin helping with a floral wreath (to get in more green). As these match our Christmas cards, I might possibly use it for a thank you card, if I'm not feeling up to creating something new this Christmas (or, perhaps I should say, if I find I have way too much to do to take more than just Christmas Day off!). It needs a bit of a tidy up, of course. My Colour Collectives almost always do!


I'd also like to take this opportunity to thank you for reading my blog! This is my 446th post since I started blogging in April 2010. I've come a long way since then. Thank you for being a part of that journey!

Adobe Photoshop CC 2016 on a Wacom Cintiq Companion 2. About 5 hours.

Thursday, December 22, 2016

Winter Magic

Here's my piece for the final Colour Collective of 2016 - the prompt was 'white', and I didn't quite have enough time to do justice to what I wanted to draw. (December is so busy!) But that's okay, a lot of my Colour Collective pieces are like extended drafts - I can try out ideas, and further down the track I might work them up into something better. Once I've got the idea down, I won't forget it, and if I've done it for CC I can come back later and see all the things I want to change!


Here's a quick progress animation. I really only worked on this over one evening, so I only took screenshots of four stages - initial sketch, sketch, flat colour and final:


Adobe Photoshop CC 2016 on a Wacom Cintiq Companion 2. About 5 hours. 

Tuesday, December 20, 2016

Christmas Cards 2016

Here are the Christmas cards I designed for us to send out this year. I always try to do something really fancy for our Christmas cards, and right now I think these are my favourites of all the cards I've done!


All the glittery baubles are made with a glitter texture from (I think, I did these a few months ago) CGTextures.com, but as my mother insists on sparkly cards, the halos were gilded with Cosmic Shimmer Gilding Flakes after they were printed:


Here's a video I posted on Instagram when I did my print test prior to sending the cards off to print, so you can see how shiny they are:

A video posted by Alison Mutton (@alene.art) on


We found the gilding flakes at a craft fair, and decided that we had to have them for the Christmas cards, so I designed our cards specifically around the flakes. We used two colours of flakes:

Mulled Wine:


And Autumn Leaves:


Read on for a video of the gilding application, and progress gifs, thumbnails and more:

Monday, December 19, 2016

Penguin Christmas Cards

Here are some Custom Christmas cards I created for some friends this year. Late last year they went on a photography trip to Antarctica - we had already ordered the cards before they left, so there was no Antarctica theme (I did a Carnaby Cockatoo instead), but this year they are spreading the penguin love. 


I used a faux woodcut style, to match the cards I did last year. I was given this photograph to use:


Originally the idea was to enlarge the boat behind them, and have it driven (do you drive a boat?) by Father Christmas, but when it came to actually getting the cards done I had a crashing migraine (and I do mean a real one, not just a headache, I'd spent the day throwing up, after the tooth infection and root canal I had also had that week - my time to work on the cards before print deadline rapidly slipped away from me) and I asked if I could do something a bit simpler. So I gave the two penguins a bauble to play with, and reused the background text from last year's card. I'm really rather pleased that we did, the two cards match each other beautifully, I think! 


I did two colour-ways as we got them printed at Moo and wanted to take advantage of the printfinity option:


Adobe Photoshop CC 2016 on a Wacom Cintiq Companion 2. About 4 hours.

Sunday, December 18, 2016

Lapphund Christmas Cards 2016

A new Christmas card to add to the lineup for some lovely friends. I've been doing their cards since 2013 and they have evolved from one finnish lapphund, to two finnish lapphunds, to the addition of a baby. Said baby is now a cheeky toddler, and I thought it was about time he got up to some Christmas Card mischief!


The original sketch for this was a little different - I initially had the two dogs joining in with painting the wall, but it was decided that as they are generally more placid and long-suffering than they are naughty it would be better to reflect that. Here are the two sketches side by side. I switched orientation as I felt it worked better. 


Here's a progress animation:


Of course, I used reference photos (these cards are, after all, a slightly more arty equivalent of family-photo cards - they have to look accurate!), and I also used some free finger-paint brushes for the Christmas tree. I'm pretty sure they were these ones.  The nappy cover is inspired by the many wonderful ones he's regularly dressed in. I couldn't leave it plain when he always has such stylish ones!

I did two colour-ways, as usual, as we get them printed at Moo, and it's nice to take advantage of the printfinity option. Back when it was only dogs I used to do two different designs, but lately it's just been different colours. 


Here's the whole line-up of cards. I always keep to roughly the same look. I've linked to the corresponding blog posts if you want to read more about any of these:


Adobe Photoshop CC 2016 on a Wacom Cintiq Companion 2. About 6–8 hours, I think. 


Monday, December 5, 2016

Needle Felted Plum Pudding Ornament - with Tutorial!

My mother needed a handmade ornament for the WA Quilters Christmas Party (not necessarily a quilted one). I needed my mother to write the family Christmas letter - so I did the ornament. And as a Christmas gift to everyone, I am posting a step-by-step tutorial on how to needle felt your own plum pudding here!


I posted these snaps as part of my Instagram Story - if you follow me on Instagram, do check out my Story, I post sneak peeks and all sorts of things in there!

Needle Felting a Christmas Plum Pudding Ornament

Step 1:

Use dacron toy stuffing (I'm using the filling from a cheap old pillow (well washed)) or core wool to create a ball the size you want your plum pudding. You can of course felt the whole ball in brown wool, but dacron is cheaper (and less tempting to moths). Felt the ball fairly firmly, you don't want it to shrink down too much further when you add the brown layer on. Make sure you move it around regularly while you felt, so that you get a nice even ball shape. I'm using a coarse (#32) needle here. 


Step 2:

Felt dark brown wool (this is corriedale wool) over the top of your dacron ball. You want to felt it very firmly so that it is all smooth. Start with a #32 needle, and move up to finer needle (I'm using a #40 spiral needle, but a #40 regular needle would be fine) so that the surface is smooth and compact.


Step 3:

Take some white wool roving (this is merino) for the icing. Take twists of the roving and lay them down the sides of the pud as drips - this way you can gauge how far the drips should go, aesthetically, before you felt them in. These twists will form a sort of map for where to add extra wool to build up the icing - you don't want it too thin or the brown will show through. I like to add extra wool at the bottom of the drips. When you've got the drips felted in, add extra roving to the top so that there is a smooth topping with no gaps. I used a #32 needle to start off the icing, and then smoothed them off with a #40.


Step 4:

It is at this point that you want to add your hanger. Take some string or ribbon of your choice - a nice thin ribbon is best, as it doesn't overwhelm the ornament itself. Tie a knot with each end of the ribbon to form a loop. Then take a needle and thread and stitch the knot down to the top of the pud, nice and firmly so it won't come loose. This can be messy, because we're going to cover it up.


Step 5:

Take some extra white wool and felt it over and around the knot, to cover up the fact that we didn't bother to do pretty stitching. 


Step 6:

Time for decoration! Use a #40 needle to felt tiny little red balls and green leaf shapes. Pick the leaf shapes up and turn them over regularly while you are felting them flat, or you will felt them into your foam. Step 6 of my Needle Felted Robin Earrings Tutorial gives more information on felting these shapes. Once you've felted the leaf shapes fairly firmly, you can trim off the edges with sharp scissors so that they are clean shapes. 
Felt the berries and leaves around the base of the hanger. It's up to you how many you felt, depending on how big you have made them, and how you want to arrange them. When you feel you've got enough, move on to the next step.


Step 7: 

I like Christmas tree ornaments to have a bit of sparkle to reflect the Christmas tree lights, so I took some glass beads - in clear, red and gold - and stitched them over the pud in a scattered pattern.


Step 8: 

As a final touch, I added some glitter - this is a frosty holographic glitter that I happened to see when I was delving in my craft cupboard and just couldn't resist. Sprinkle your glitter sparingly over the top of the pud, and then spray the whole thing with a light covering of fixative or hairspray, to help keep the sparkles in place. I'm sure they'll fall off eventually - although the texture of the felting will help keep the glitter on. I considered spraying on some adhesive, but decided against it - I didn't want a sticky pud!


Here are some more photos:


Here you can see that I added a single drip of icing on one side of the pudding.


Yes, it was a bit windy while I was taking photos!
Sunday, December 4, 2016

Picking the Holiday Snaps

Here's my Colour Collective for last week. The colour, seasonably, was 'Scarlet'. I'd had good feedback on my Myrna pictures at the Expo I attended last week so I thought I'd do some more in that series. I'd been asked if I had any greeting cards of the series, and I thought I should make some up - and some seasonal ones would be a good addition to a range like that!

Here's the image I made for Colour Collective:


I'd done three full-body pictures, but cropped them down for this piece. I also posted one of the full pieces as a second Colour Collective entry. The other two I plan to use for Illo Advent later in the month (when things get busier, as I know they will, and I don't have time to create something every day. I'm hoping to manage the first 12 Days of Christmas with new pieces, and then switch to a combination of existing pieces and one-off illustrations, rather than a series. I'll blog about my Illo Advent pieces once I'm done. I'd love to add some more Christmas Myrnas, but we'll see how I go). 

Here's the full piece of Myrna, unamused, in antlers:


Here's the photo that inspired this piece. It was taken last year, and even bribed with treats off-camera Myrna wasn't too happy about being put in antlers!


I also used one of my Myrnas to create a quick seasonal Twitter header. I realise I should change my header more often (it has been The Princess and the Pea since I set up my account several years ago. Oops!) and thought I should make a start with a Christmassy header (that I will have to change again at the end of the month. Start as you mean to go on, and all that.)


Adobe Photoshop CC 2015 on a Wacom Cintiq Companion 2. I suppose each Myrna took about an hour to an hour and a half to do, with a further half-hour to combine them into the snaps image. They were all created using Kyle Webster's China Marker and Gouache a Go Go brushes (two of my favourites), with the glow from the fairy lights created using his Big Watercolour Texture brush. 


Saturday, December 3, 2016

The Gosnells Writer's Circle Writing and Self Publishing Expo

Belated post, December is always so busy!

I was invited to attend the Gosnells Writers Circle Writing and Self Publishing Expo again this year, and had a great afternoon after a bit of a slow start. It was 37 degrees outside, which I think tempted more people stay indoors with their aircon - but fortunately we were indoors with aircon too, it would be been horrible to be at an outdoor expo with the heat!

Here I am with my mother, who helped me to man my table. Behind my merchandise we are cutting out the jac paper halos for this year's Christmas cards. I'll blog about the cards later this month, but if you follow my Instagram or Twitter you will have seen snaps as I was working on them. 


You can also see my colouring book on display on the right of the table. I was selling the book on its own and also as gift packs with a handmade book bag, coloured pencils and bookmark. 

As it was a self-publishing expo I also had a form for people to fill out if they were interested in hearing more about working with an illustrator when self-publishing a book or picture book. I've worked with a number of self-publishers, and always try to give them as much help as I can. Having a form for them to fill out was a new method I was trying for getting in touch with them. I hand out business cards as well, of course, but it's so easy for people to mislay them. This way I was able to send out informative emails to everyone on the list, tailored to their specific interests, the day after the expo. I only got one reply (just a public service announcement here (and meant in the nicest way): if an illustrator has taken the time to send you a long email full of information, it is polite to thank them, even if you don't plan on commissioning them soon (or ever). They've taken time out of their busy schedule to provide you with that information and when you don't get back to them, they feel it was wasted, unappreciated time. I can't tell you how many people have contacted me directly, and yet never replied to my reply!) but I hope the information was of use. 

When we arrived to set up at the expo, there was a scheduling clash with the hall, so while we were waiting for it to become available, we wandered down to look around the Centennial Pioneer Park. We don't live in Gosnells, so we'd never explored it before. It was very hot indeed (already up to 37 degrees at 11am) but there was a lovely boardwalk by the river. Here are a few snaps:


And for those readers who have never been to Australia, here's a video - this is the sound of a hot day in the bush (and it can be pretty deafening!):


One last photo from the Expo, this time taken by my mother. She took quite a few, but isn't at all handy with the camera phone - every other one was out of focus!


Thanks for having me, Gosnells Writers Circle! 

LinkWithin

Related Posts Plugin for WordPress, Blogger...